

Having finally launched The Producer’s Guide to Workflow & Creativity, I’m out of the trenches and eager to get back to a regular posting schedule.
So, what better way to kick things off than a post about drums?
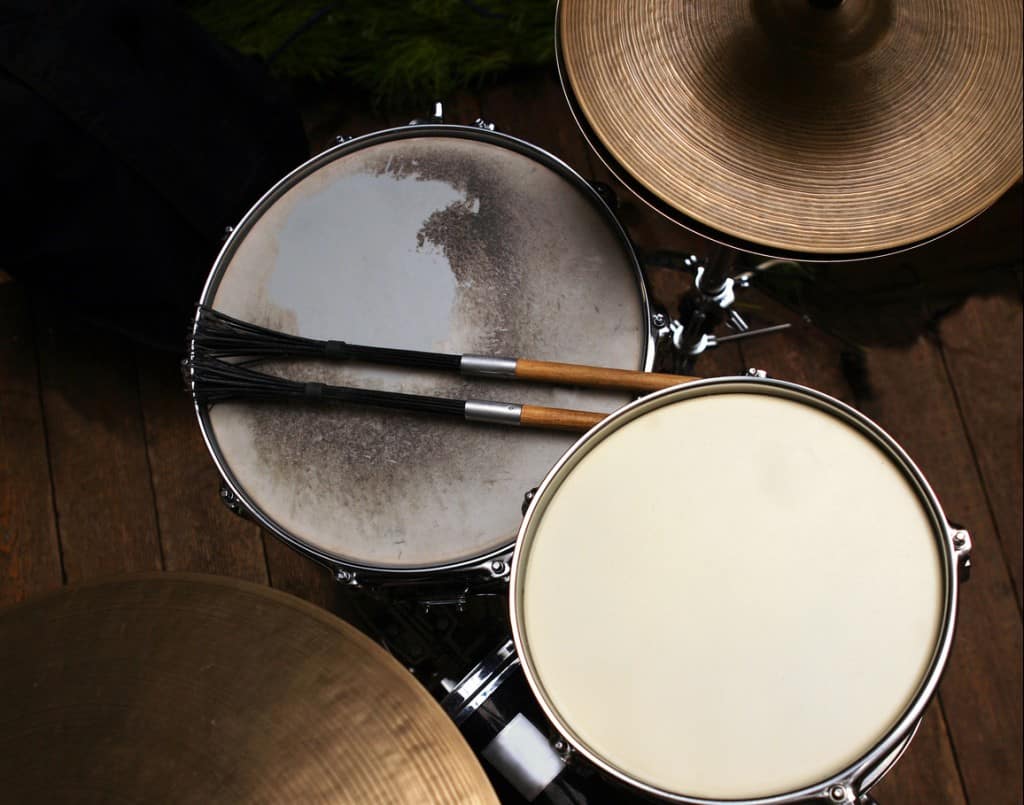
Drums are, as you should already know, the backbone of any dance track. They make up most of the groove along with the bassline, which is why they need careful attention when you’re making your track.
Note: If you want to learn more about drums, why they’re so important, and how to program them, check out this post.
A lot of producers settle for simple drum sequences. They’ll chuck in a kick, hat, and clap, and then leave it at that. There’s nothing inherently wrong with doing this, but if you want to make your song more interesting to the listener by giving it a touch of complexity, then it just doesn’t cut it.
In this post, I’m going to share five (relatively simple) tricks that I use to make my drums more interesting.
You can follow along with this tutorial using your own samples. However, if you want to follow along closely using the same sounds I do, then click the image below and enter your email to download the same samples I’m using. You’ll also receive a fancy-looking PDF cheat sheet with the five tips for quick and easy reference while you’re producing.

Note: The samples are from Dave Parkinson Trance Essentials, which you can learn more about here.
1. Dynamic Hi-Hats with Delay & Velocity
I first came across this technique after attempting to remake one of my favorite tracks, City of Lights by LTN. If you listen closely during the intro, you’ll hear a high-frequency percussion sound moving from side to side that has delay on it and an off-beat hi-hat pattern that plays at different velocities.
Creating something like this is easy and a whole lot of fun.
Let’s with a simple kick and clap loop (using Kick 1 and Clap 1 from source files folder).
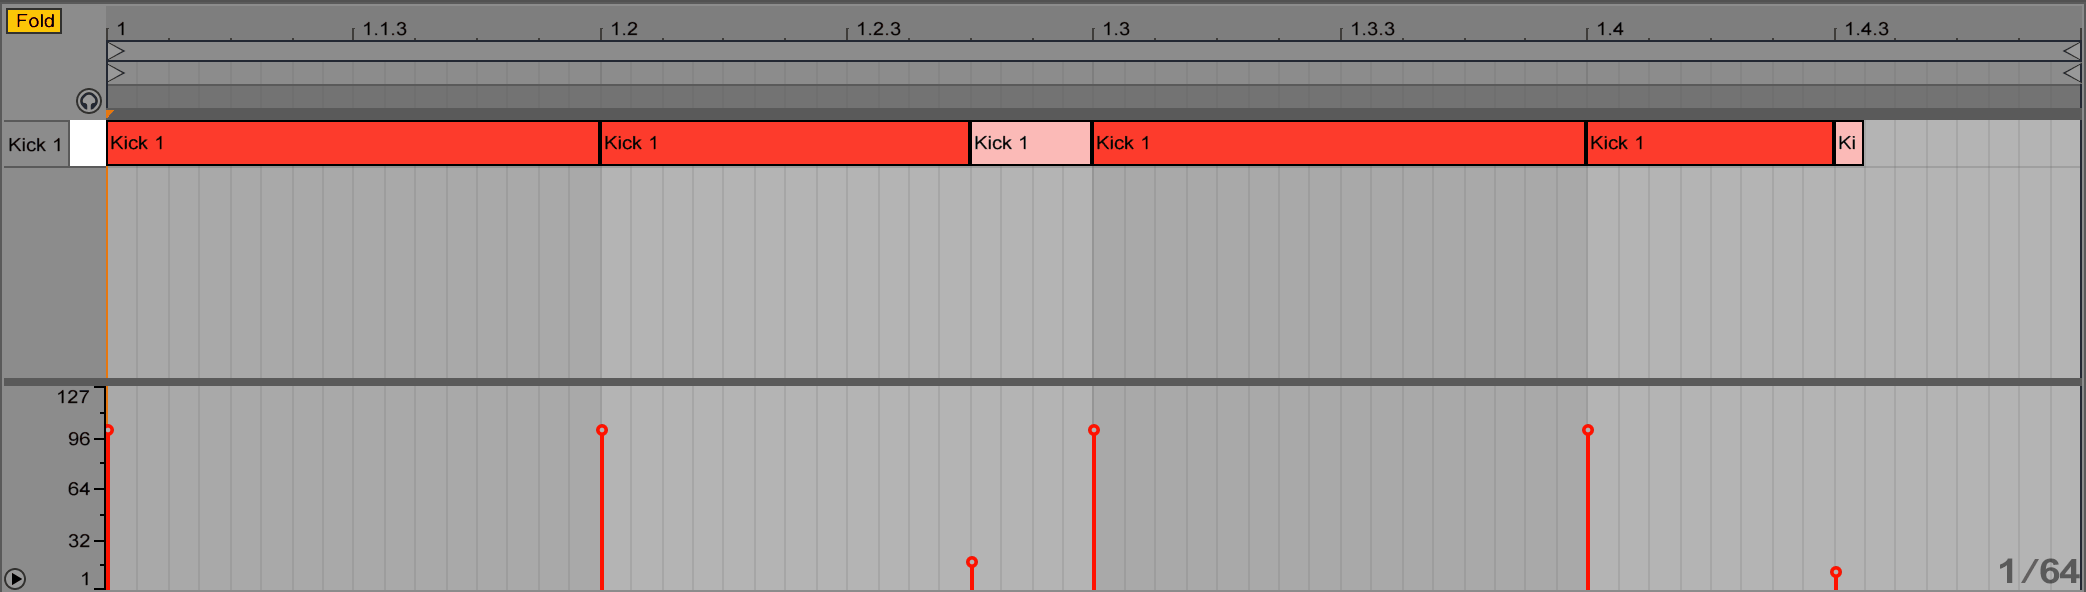
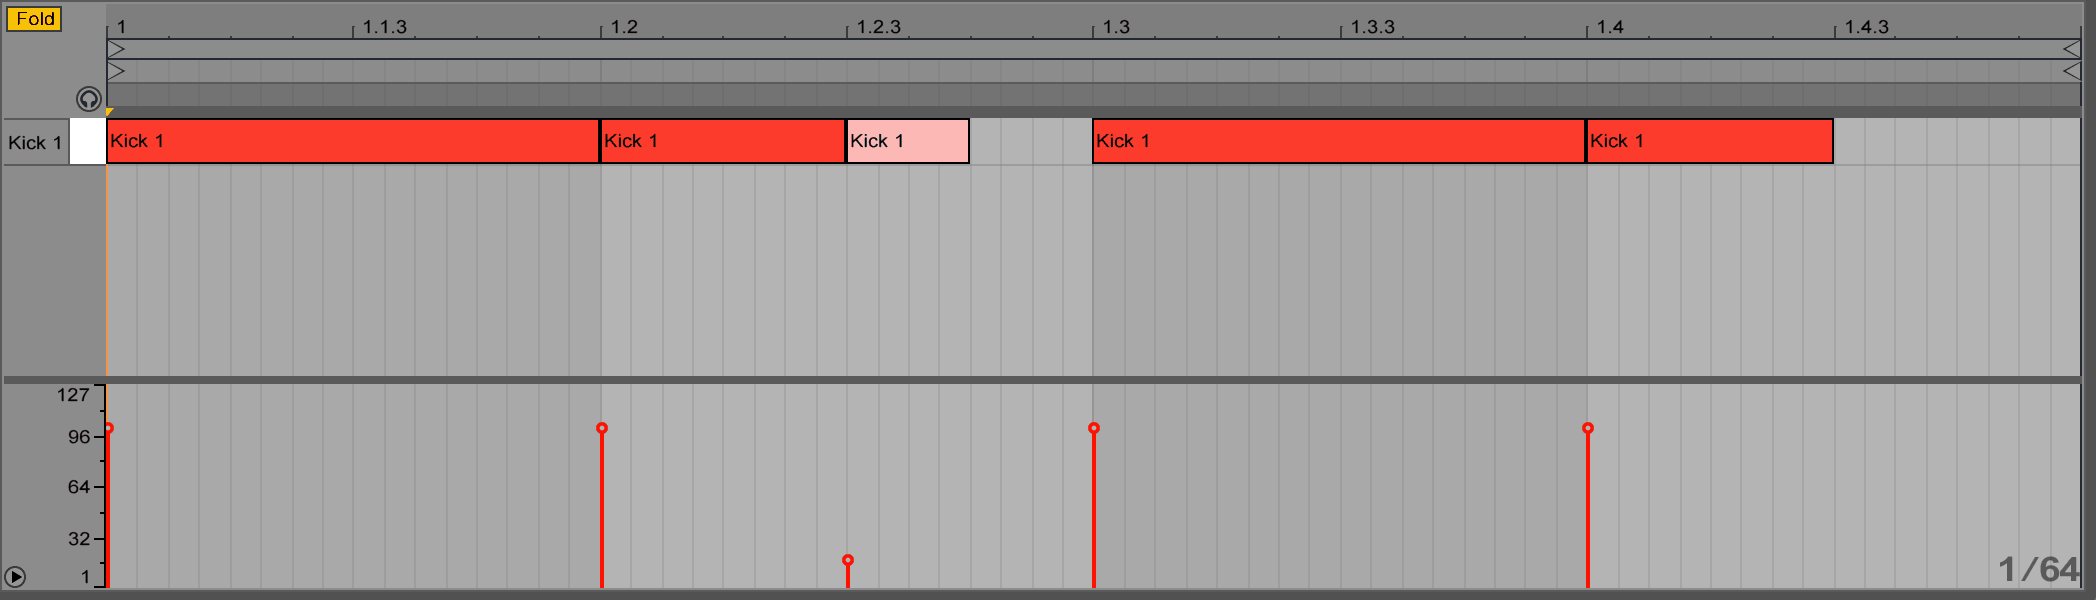
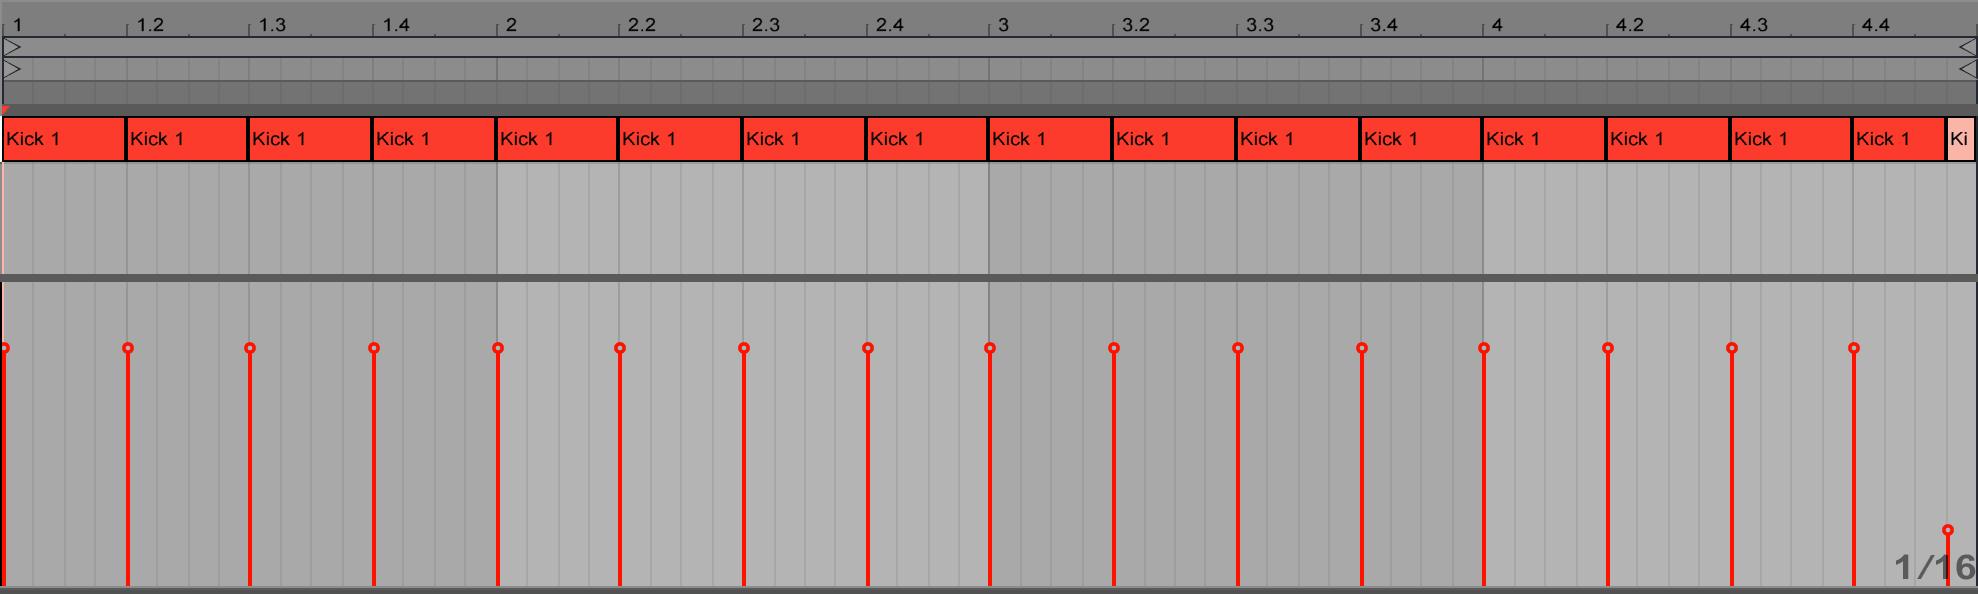
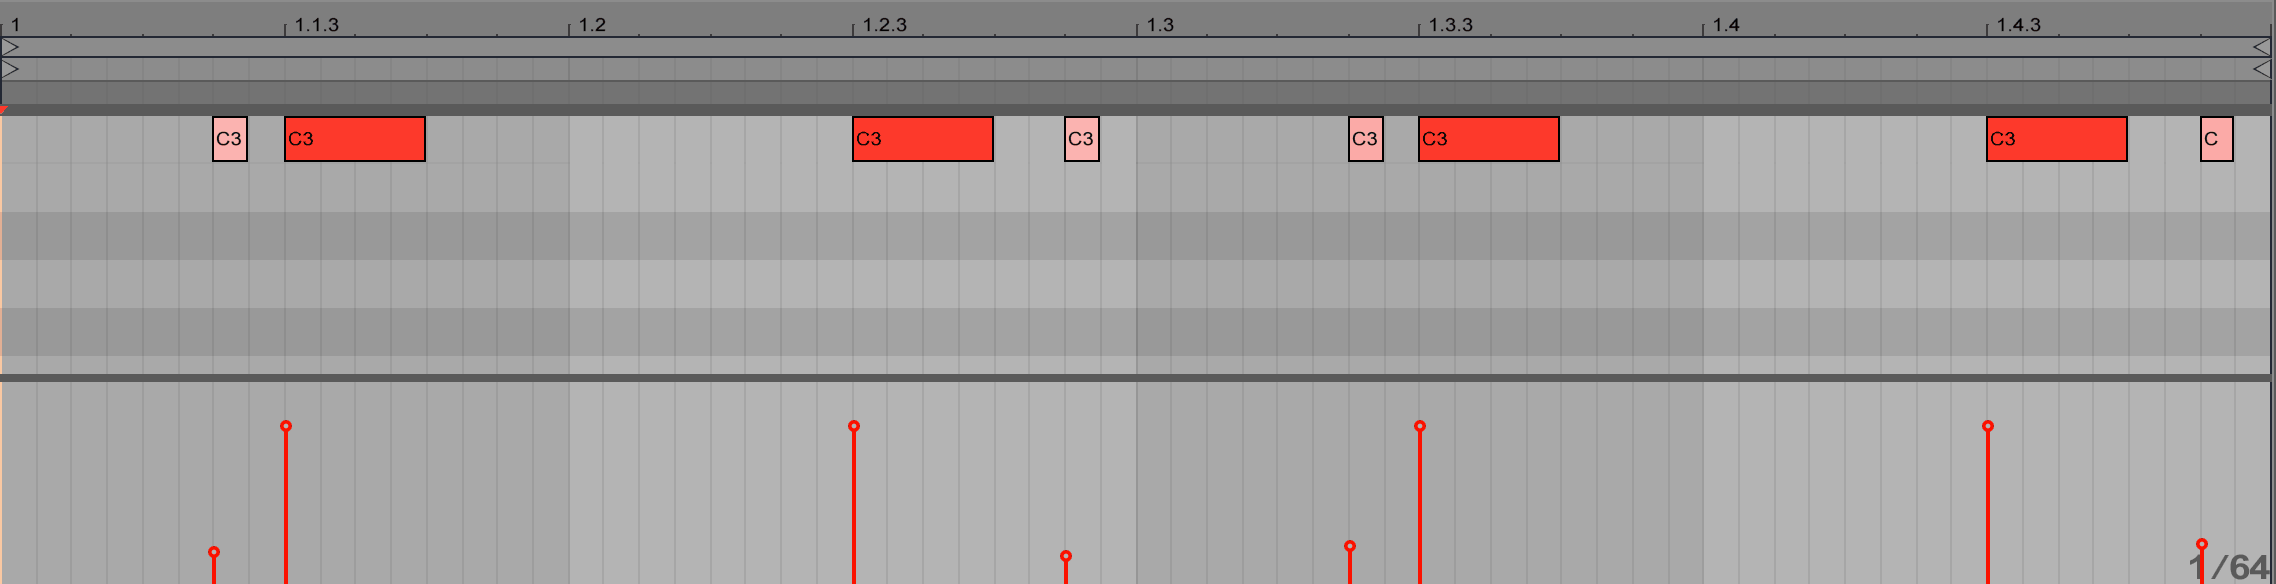
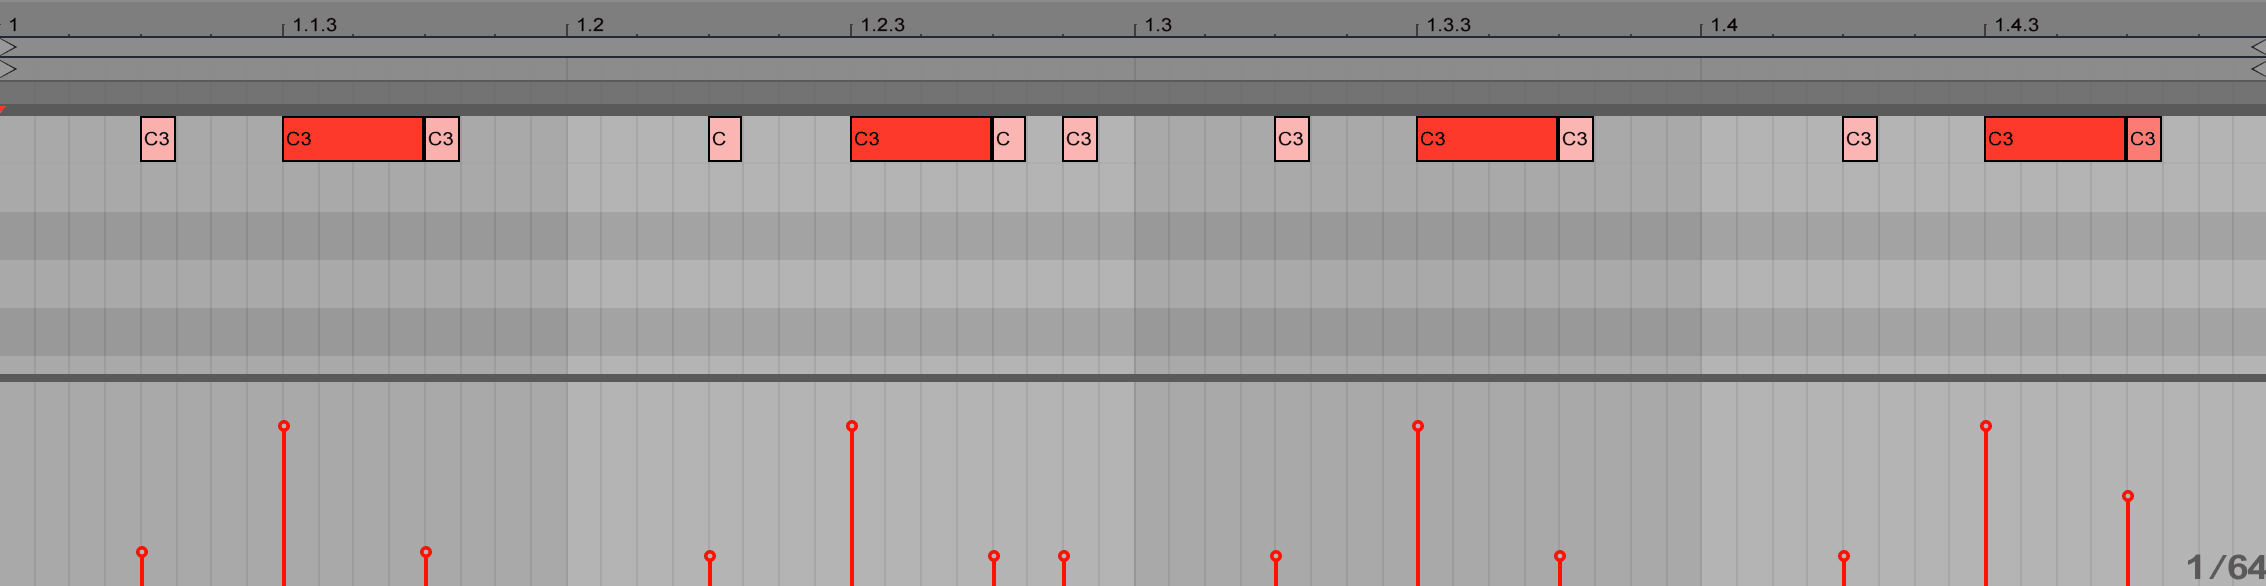
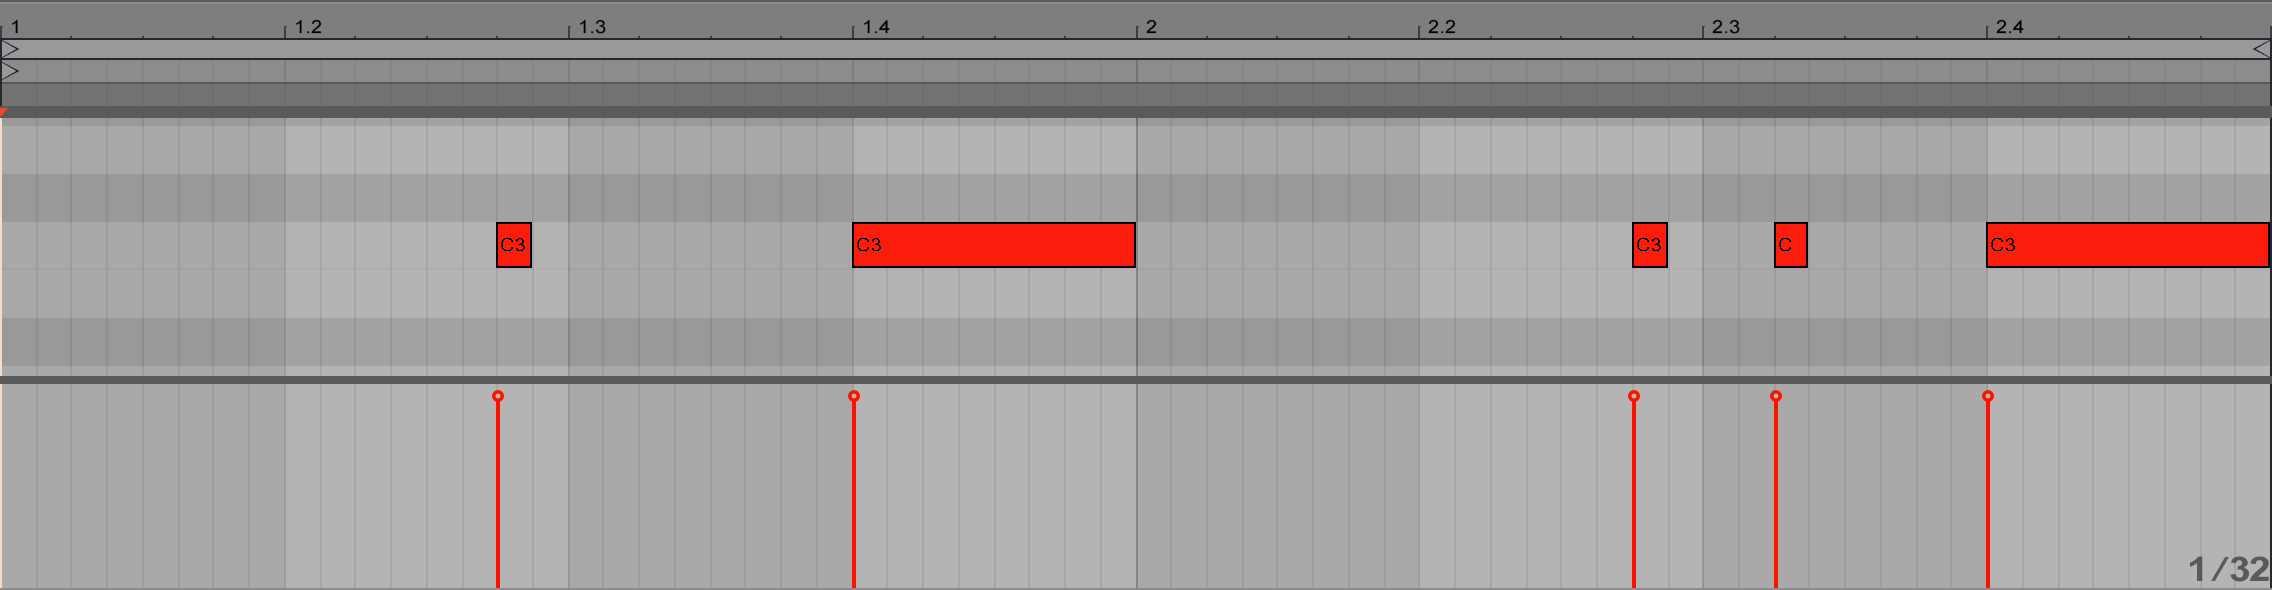
Then we’ll add an off-beat hi-hat pattern. I’ve made mine 4 bars long because I want it to sound interesting over those 4 bars by using different velocity levels (see image).
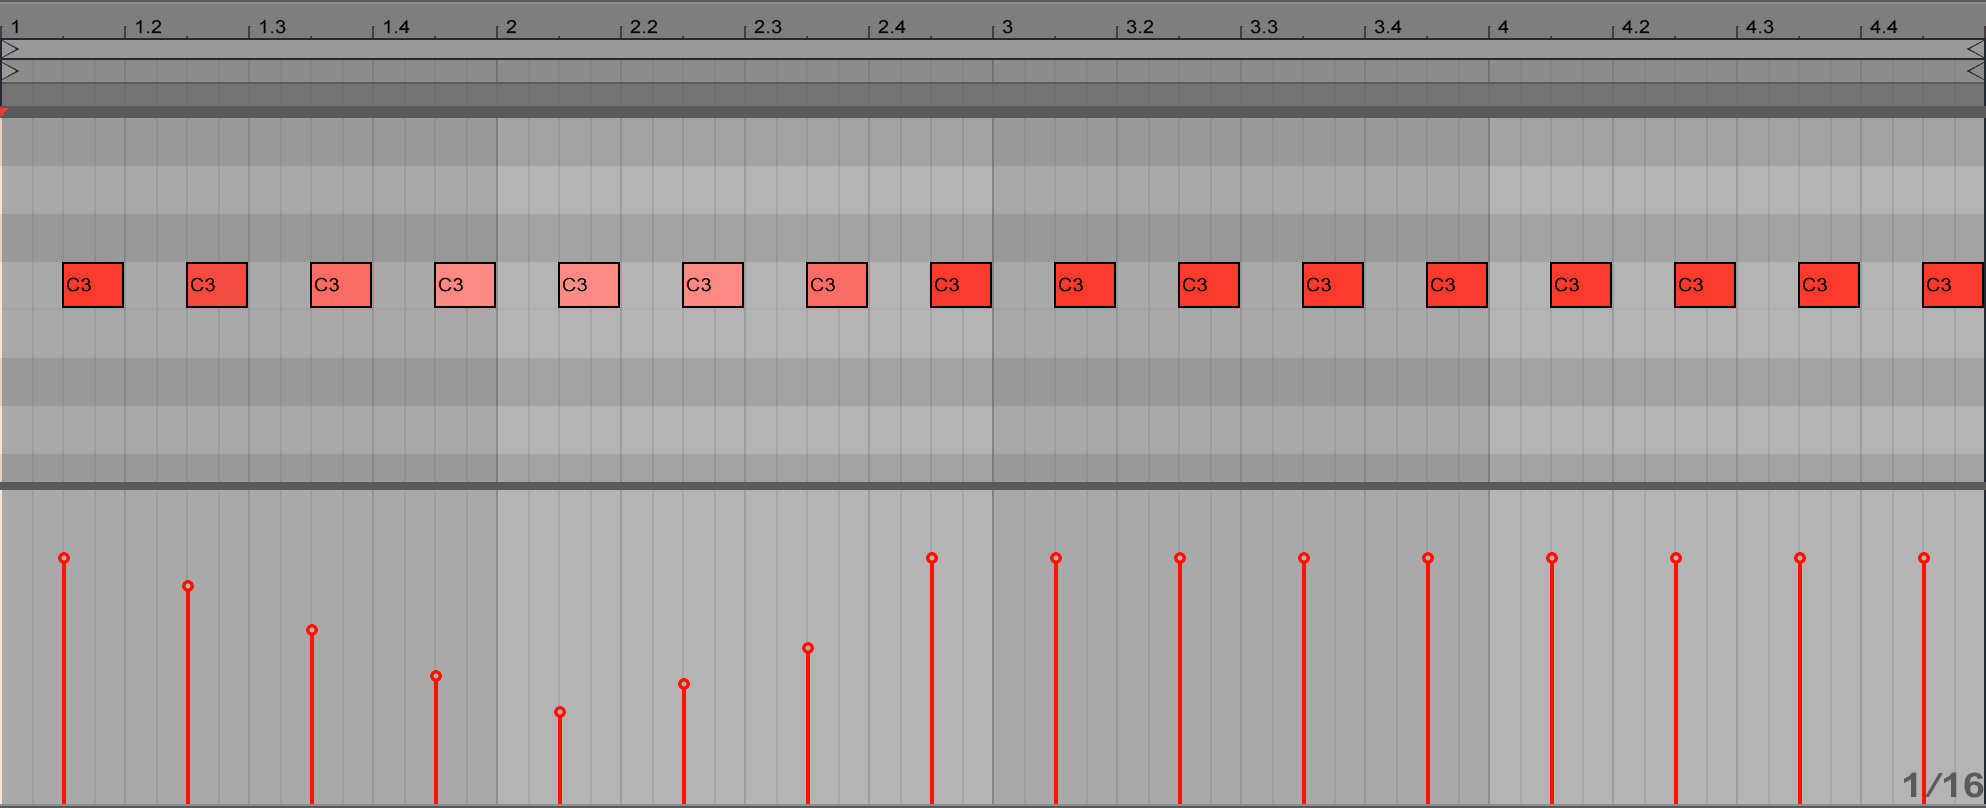
I encourage you to play around with different velocity patterns until you find something you like.
Adding Delay
 The next step is adding a delay to the hi-hat. The best way to do this is to use a new audio track as a send track so that we can manipulate the delay by itself without affecting the source sound (the dry hi-hat).
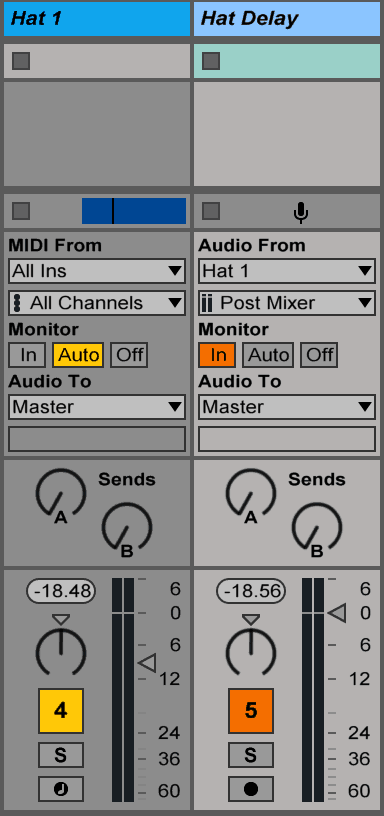
Not sure how to do this? Here are three steps (for Ableton users):
1. Create a new audio track
2. Set “Audio From” to your hi-hat track
3. Change “Monitor” to “In”
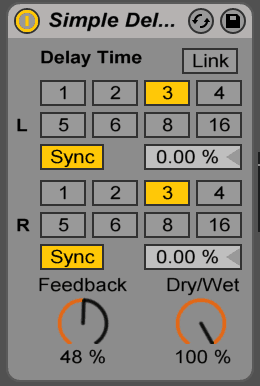
Now that we’ve set up a send track, it’s time to add a delay. I’ve added Live’s Simple Delay with a basic 3/4 time setting and around 50% feedback. Make sure that whatever delay you use, the dry/wet setting is at 100%. We’re using a send track, so there’s no need to have the dry signal come through.
Here’s how it sounds currently.
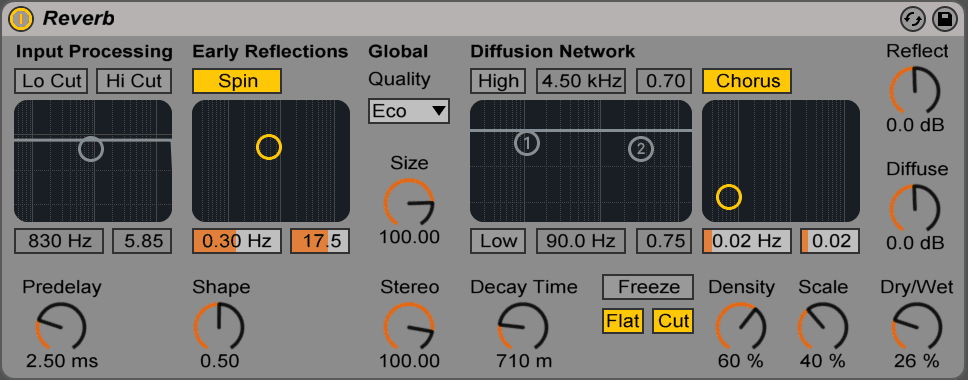
It’s not bad, but we can make it more interesting. I’ve added some reverb, bit reduction, and an LFO-triggered lowpass filter.

It’s coming together. Let’s add one more delay track to make it even more interesting.
This time, we’ll add a new send track, except the input will be the original send track that already has a delay on it. Essentially what’s happening is we’re adding delay to a delay. I know… delay-ception.
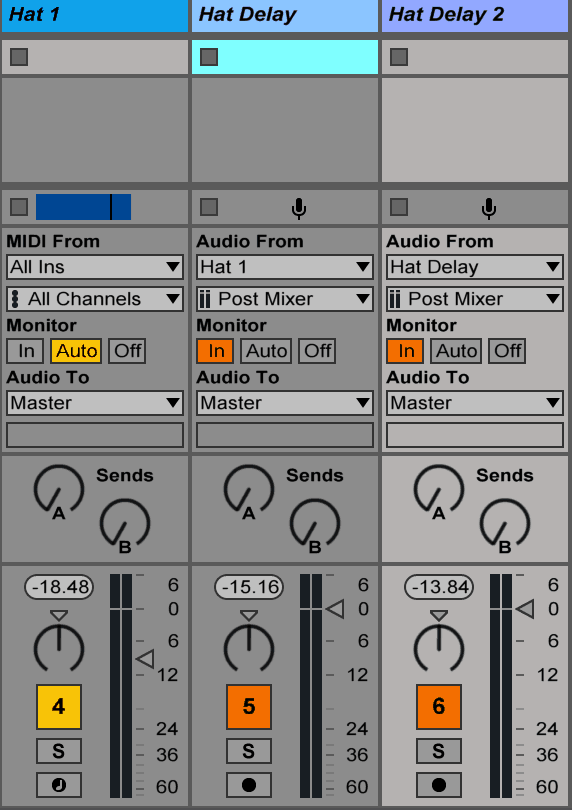
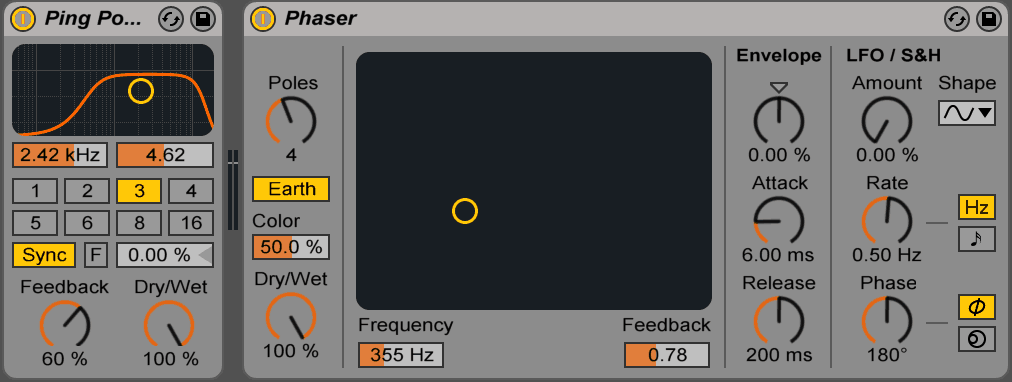
We’ll add a ping-pong delay and phaser on this second delay track.
And we’re done. Here’s how the end product sounds (take note of how the velocity affects the delay):
2. Use Ghost Notes
In the world of drumming (and drum programming) ghost notes refer to notes played at a significantly low volume. They’re often used to add extra groove or complexity.
With modern DAWs, adding ghost notes is super simple. It’s really only a matter of using lower velocities and/or shorter decay times.
Let’s look at a few examples of how ghost notes can be used.
Ghost Kicks
Using a ghost kick is a great way to add a bit of micro-tension and futher emphasise your groove.
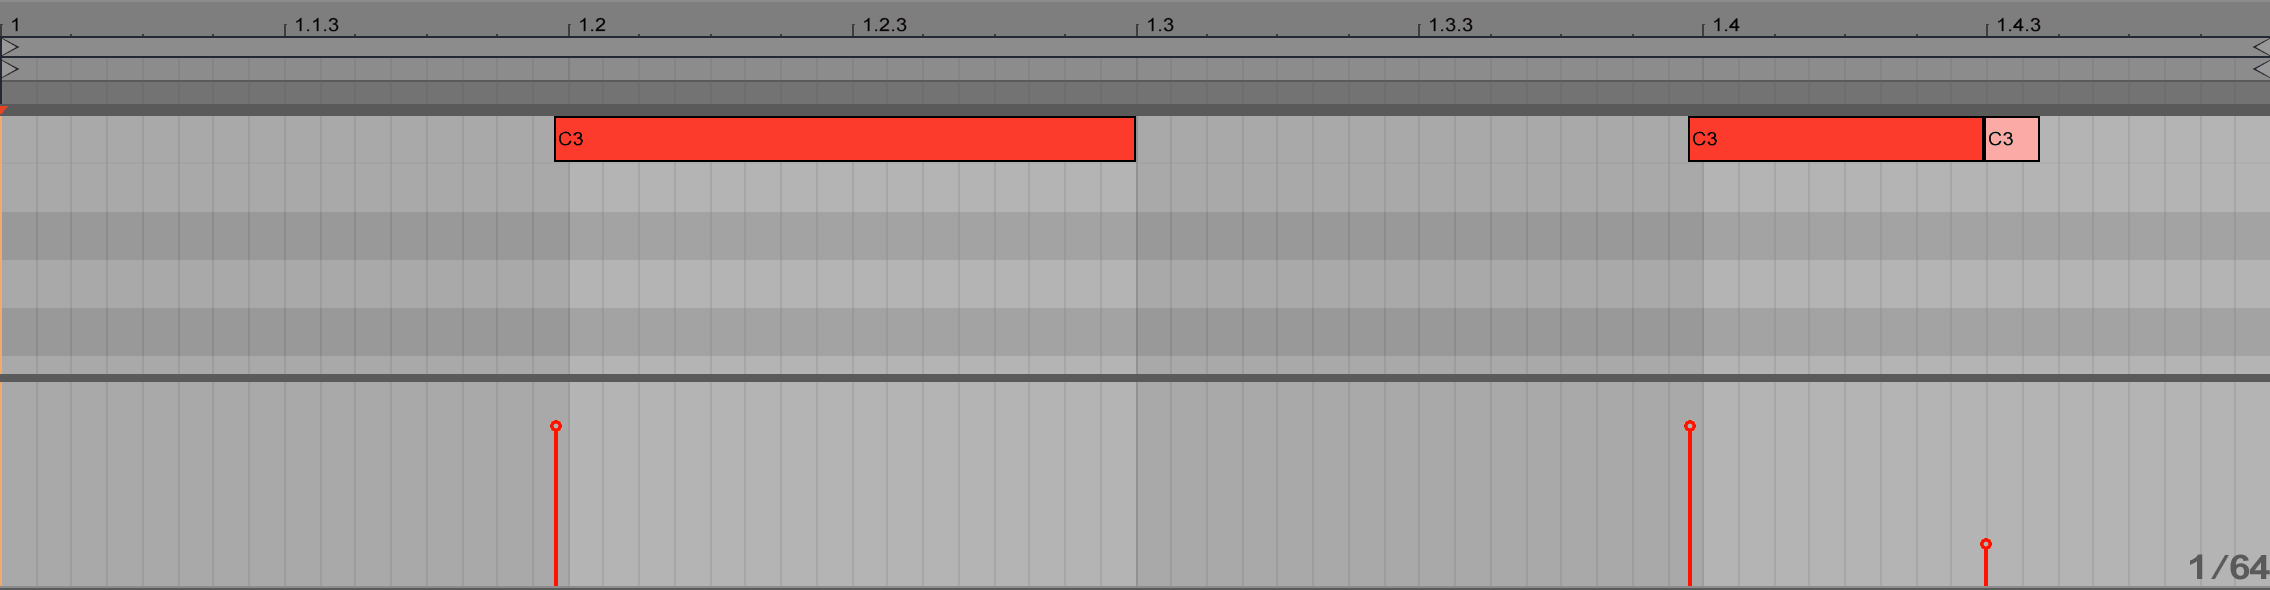
Example 1
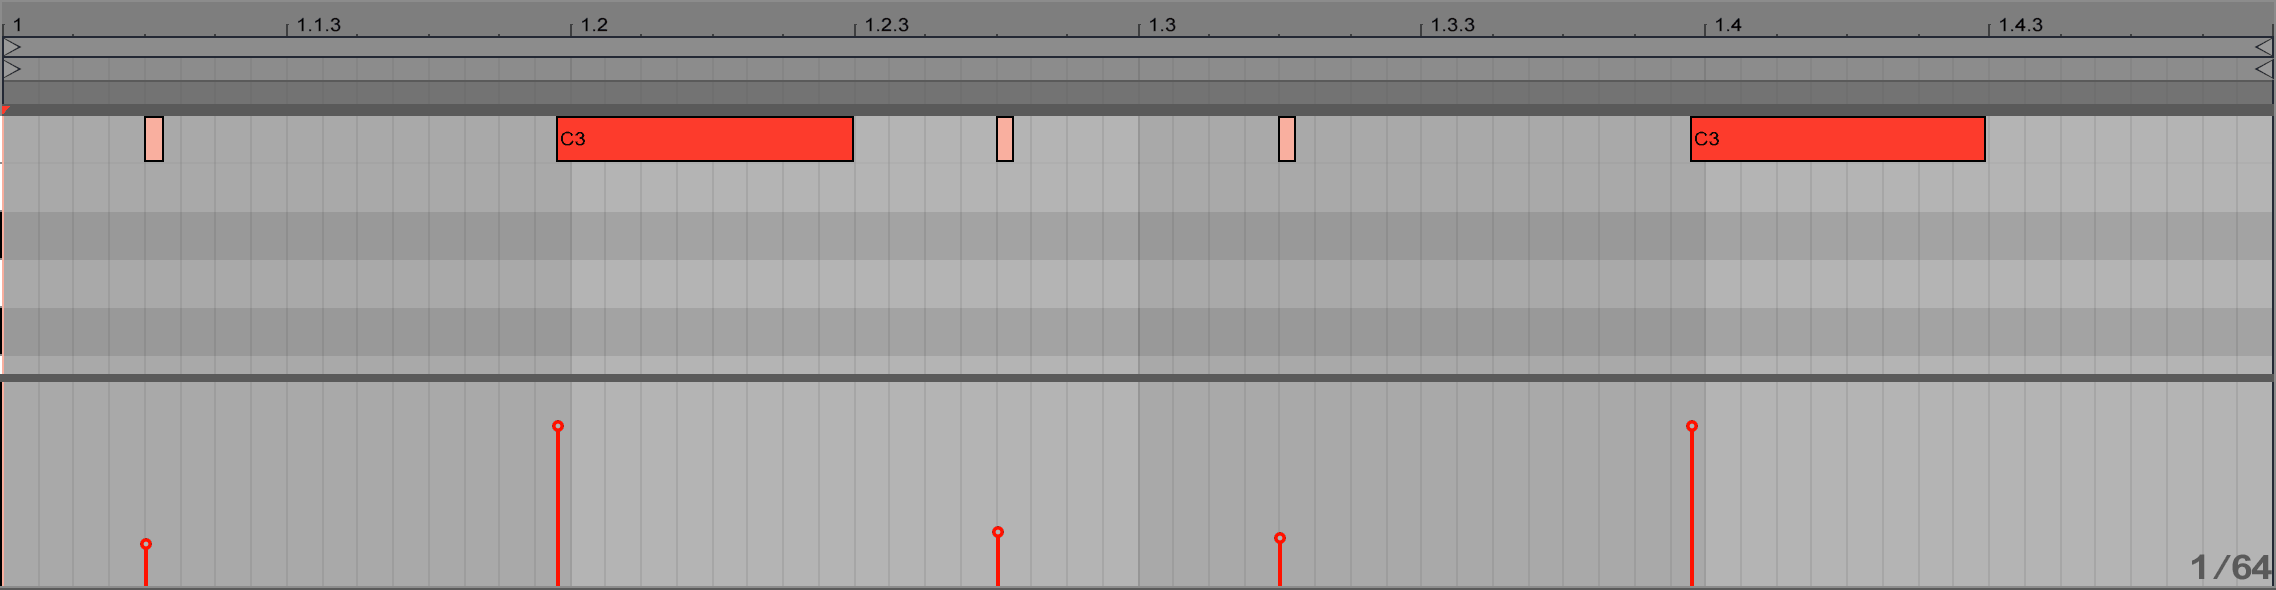
Example 2
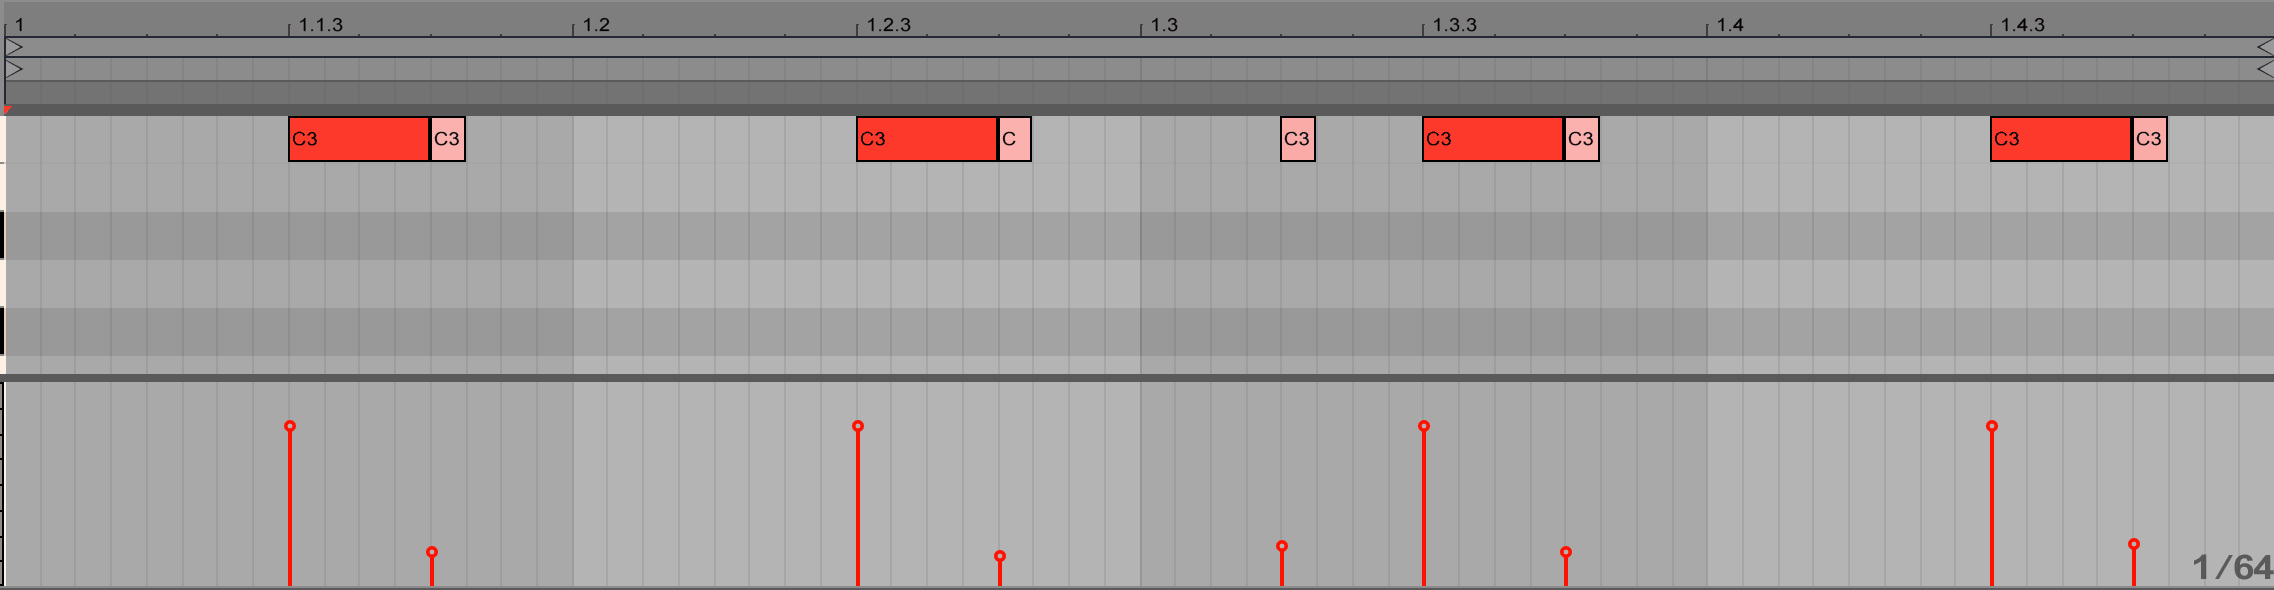
Example 3
You can, of course, use ghost kicks in a more subtle manner. You might have a single ghost note at the end of every 4 bars, for instance.
Ghost Claps
Ghost claps are more common than ghost kicks. You’ll undoubtedly have heard a 16th ghost clap before on a house or disco song.
Often with ghost claps you’ll want to shorten the decay/sustain as well as the velocity. You can do this through automation or simply shortening the note (assuming the decay/release in your sample isn’t too long).
Example 1

Example 2
Example 3
Ghost Hats
Can you use ghost notes with hi-hats too? You bet!
Note: I’ve turned off the delay for these examples.
Example 1
Example 2
Getting shuffly.
Example 3
3. Use Percussion to Create Rhythmic Motifs
We often think of percussion sounds (excluding toms) as “supporting” elements – things that help move the drum sequence along but don’t play a big part.
Depending on the style of the track you’re working on, you can use percussion in such a way that it becomes an idea or motif in your track that people remember.
We’re going to create 2 rhythic motifs (that actually stand out) using percussion.
Motif 1
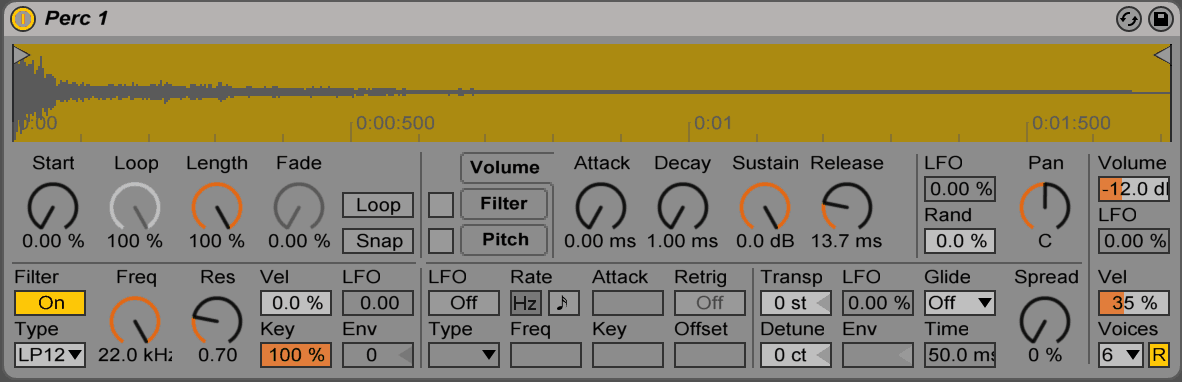
First, grab the Perc 1 sample from the samples folder you downloaded (alternatively, use your own sample), and drag it into a sampler.
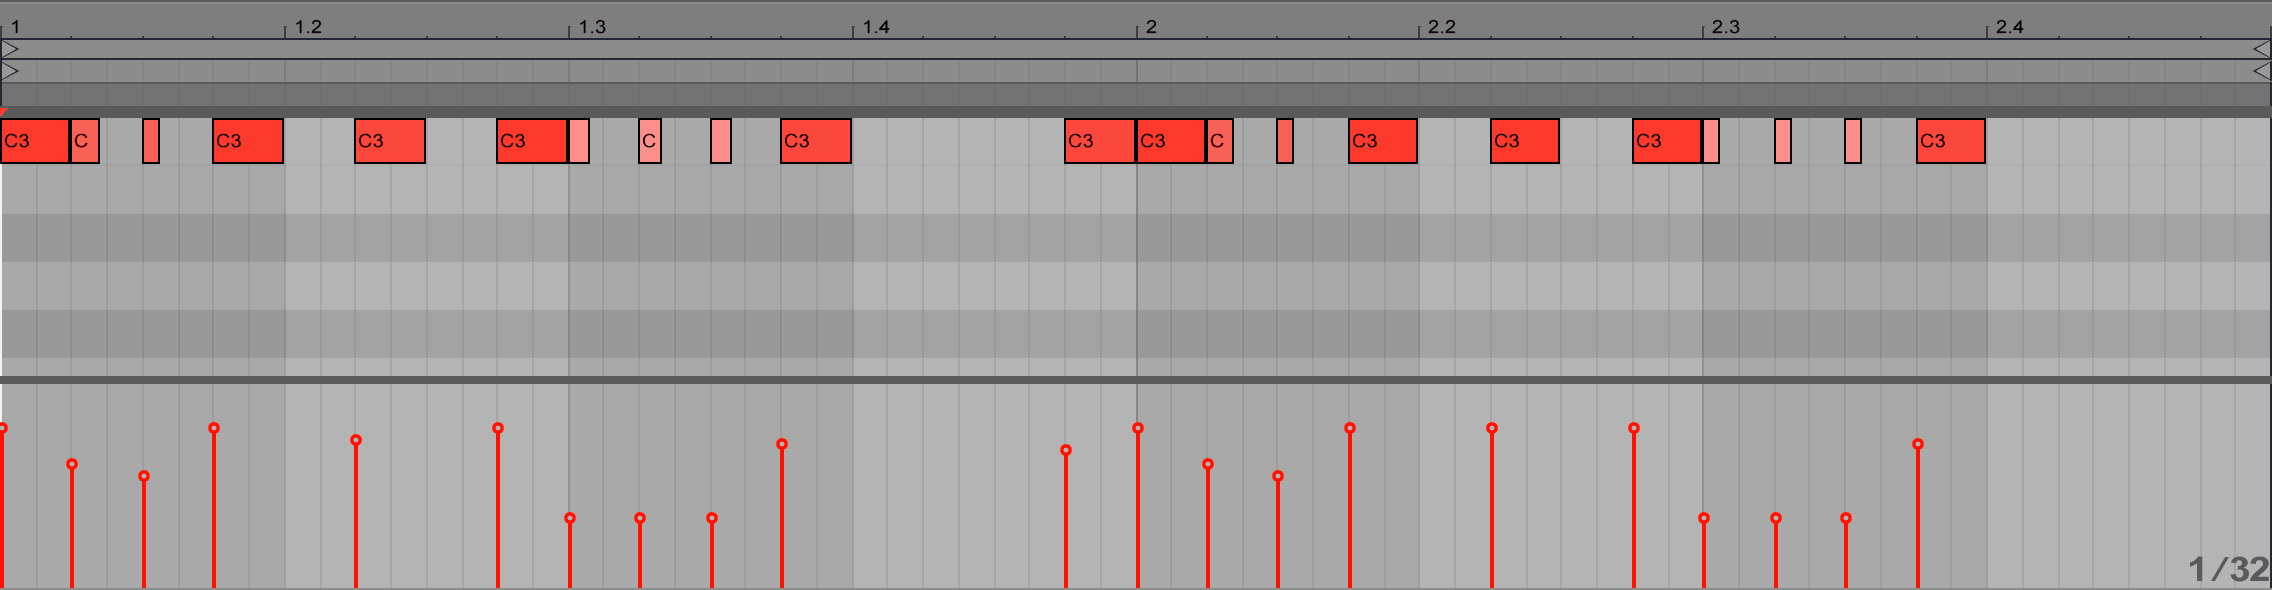
The first thing you’ll want to do is pull the decay down and turn the sustain all the way up. This allows us to shorten the sound of the sample by simply adjusting the length of each note in the piano roll.
Here’s the basic pattern we’ll use (I’ve quantized it with 16-35 swing):
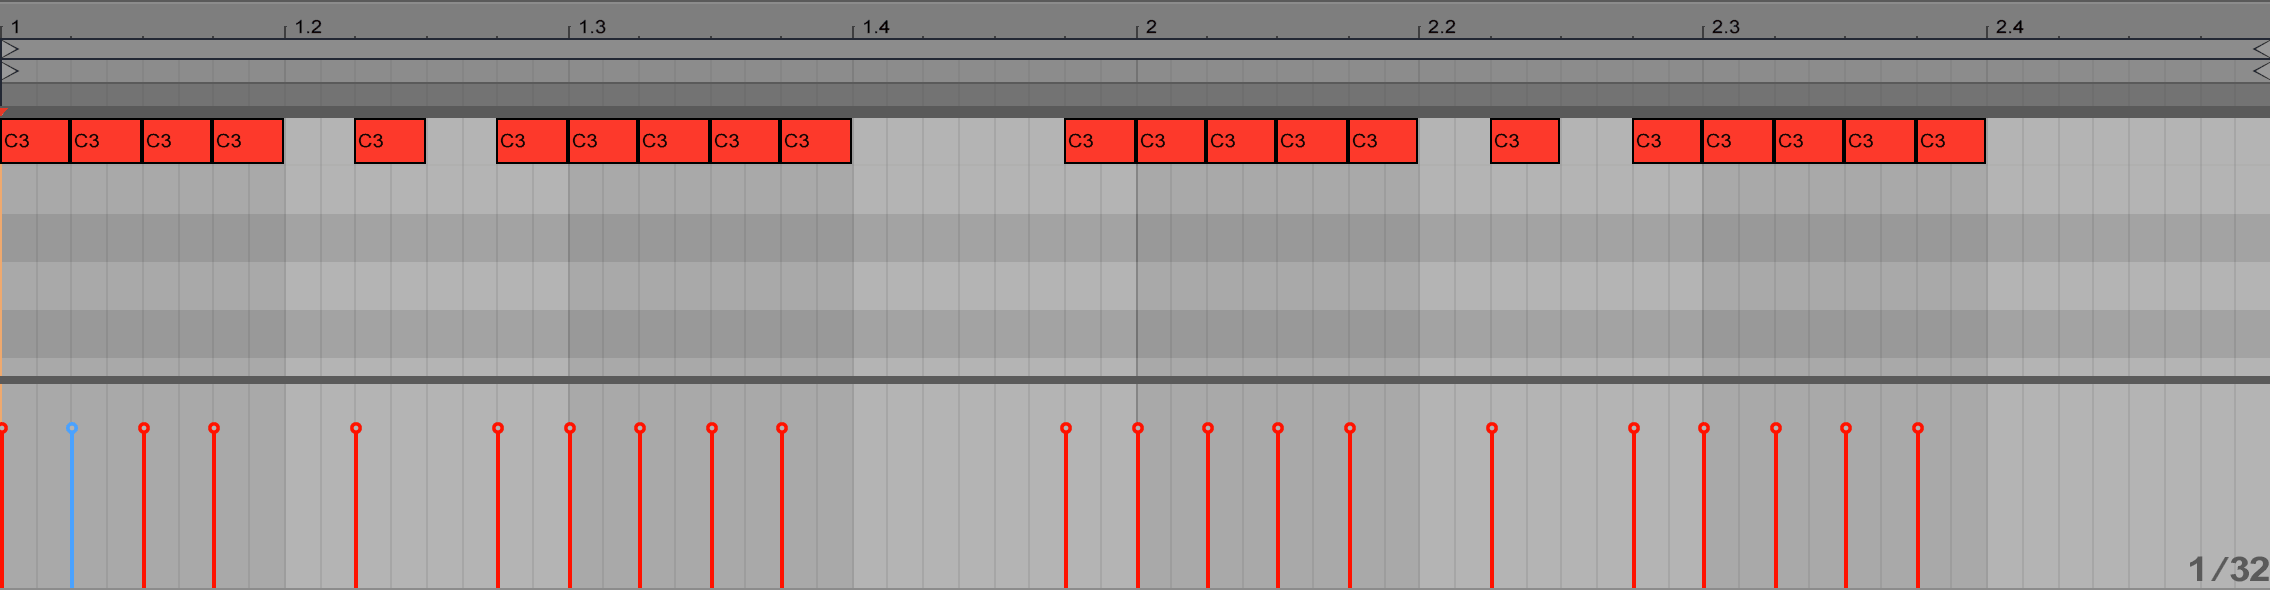
And here’s how it sounds:
As you can hear, it doesn’t sound that great. Let’s add sidechain compression so it pumps with the kick.
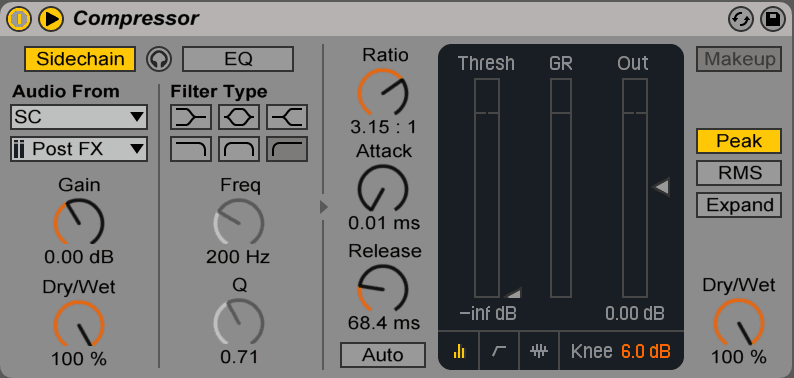
Now it sounds slightly better:
But we can improve on it. Let’s make some adjustments to the note lengths and velocities.
Motif 2
The second motif we’re going to make is more subtle than the first, but not by much. It’s very similar to the percussion sound in Axwell’s remix of “In The Air” by TV Rock (heard at 1:09).
We’ll be using Perc 2 for this. I’ve played around with the ADSR to make it fit better.
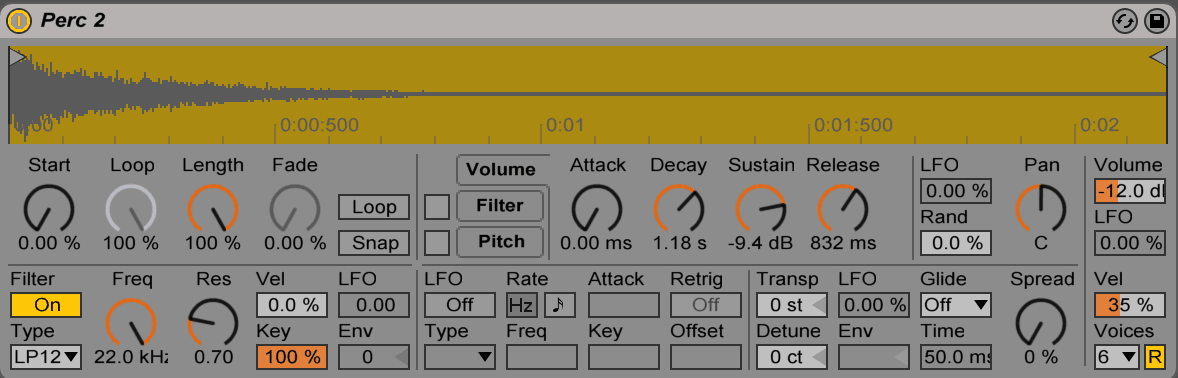
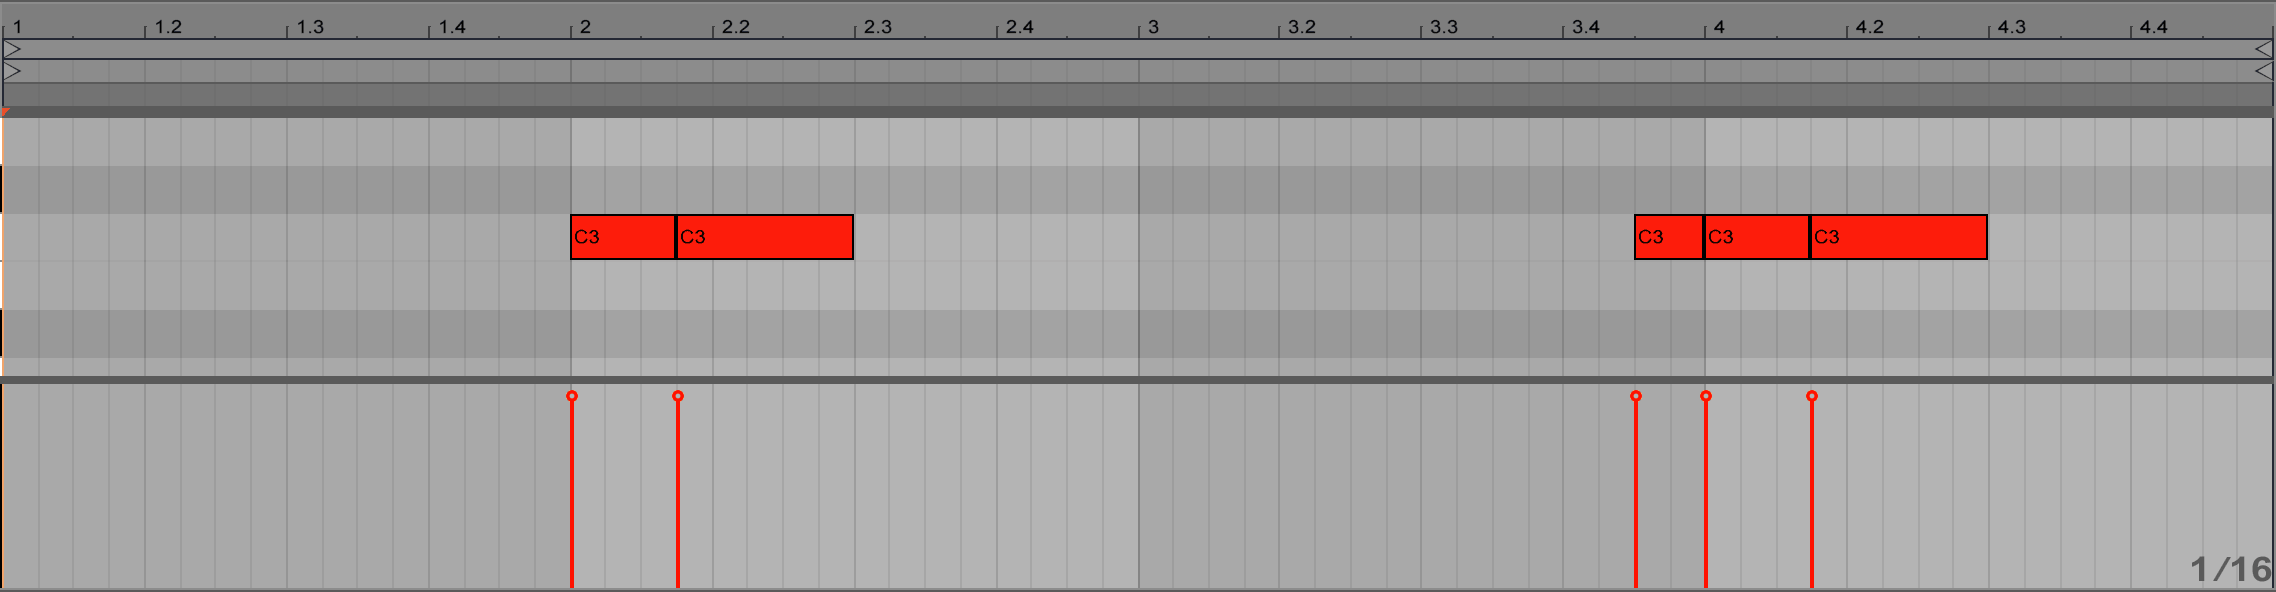
The pattern is pretty straightfoward:
4. Get Creative with White Noise
Most people think of white noise as an FX sound, like a downlifter or riser. However, white noise can be used for much more than just that. You can use it as a layer when making supersaws, use it to add punch or transient to a sound, and you can also use it to make your drum sequences more exciting.
For this trick, all you’ll need is a synth that features a white noise oscillator. You can use looped white noise if you don’t own such a synth. I’ll be using Massive.
The first thing that needs to be done, if using Massive, is turn all the oscillators off and choose your desired noise waveform. I like to use the “Bright” waveform with the color turned all the way up.
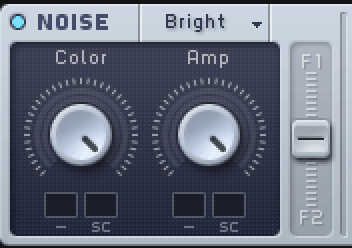
For this trick, you generally want to have maximum sustain, so I’ll turn that up as well.

I also like to filter out the lows and mids when working with white noise (it sounds cleaner).

The Pattern
Here’s the basic pattern we’ll start with:
It sounds a bit too dry and harsh. Let’s add some reverb.
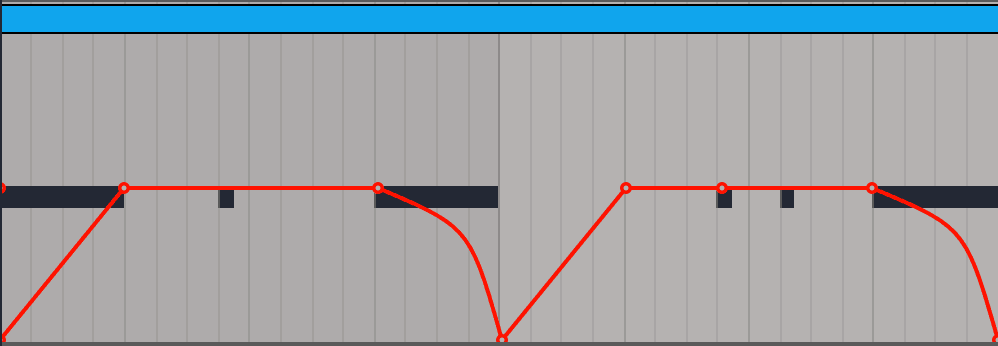
Next, we’ll add in some extra notes and volume automation to lead in to the clap.
The final product:
5. Widen High-Frequency Sounds
One subtle trick you can use to make your drums stand out more is to widen high-end sounds (hi-hats, white noise, etc.) Take a listen to the hi-hats in this track below for reference.
There are multiple ways to do this. You can use a stereo-widener, duplicate the tracks and pan each of them to opposite sides, or use a delay.
We’ll use a delay to widen the hi-hats. The white noise will be kept in the middle of the stereo field so it doesn’t clash with the hats.
You can use any delay that allows you to use short, non-synced delay times. I’ll use Live’s Simple Delay for this.
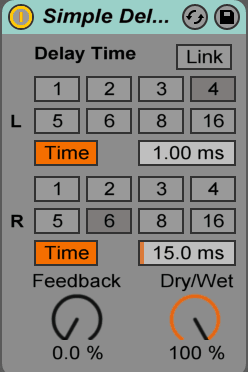
Make sure the dry/wet is at maximum, and there’s no feedback.
Here’s how it sounds (first 2 bars with stereo-width, last 2 without):
Conclusion + 5 Extra Tips
So, there you have it – 5 simple tricks you can use to make your drums more interesting.
I urge you to experiment with these 5 tips. Try different approaches, settings, and sounds. Go crazy, and feel free to report back with your results!
Remember, one of the keys to writing a strong drum loop is starting with quality samples. If you’re looking for free drum kits, Cymatics compiled a list of over 125+ free drum kits, which I highly recommend.
Finally, if you want 5 extra tips, here’s a video I recorded a while back that you might enjoy.
What would you add to this list? Leave a comment below with your trick!
