


Want to master your own music like the pros? Check out our comprehensive course, Mastering For Producers 🚀
High frequencies are essential to a powerful EDM track.
But harshness, caused by excessive high-frequencies, can quickly ruin any mix. That’s why it’s so important to learn how to control harshness during the mastering stage.
In this guide, you’ll learn:
- how to identify harshness
- the best way to dial in professional-sounding EDM mixes
- ideal settings for devices like de-essers, stereo imagers, and more
Let’s dive in.

What Is Harshness? (And How to Identify It)
Before we get into how to control harshness in your mixes, let’s talk about what harshness actually is. What do people mean when they say a mix sounds harsh?
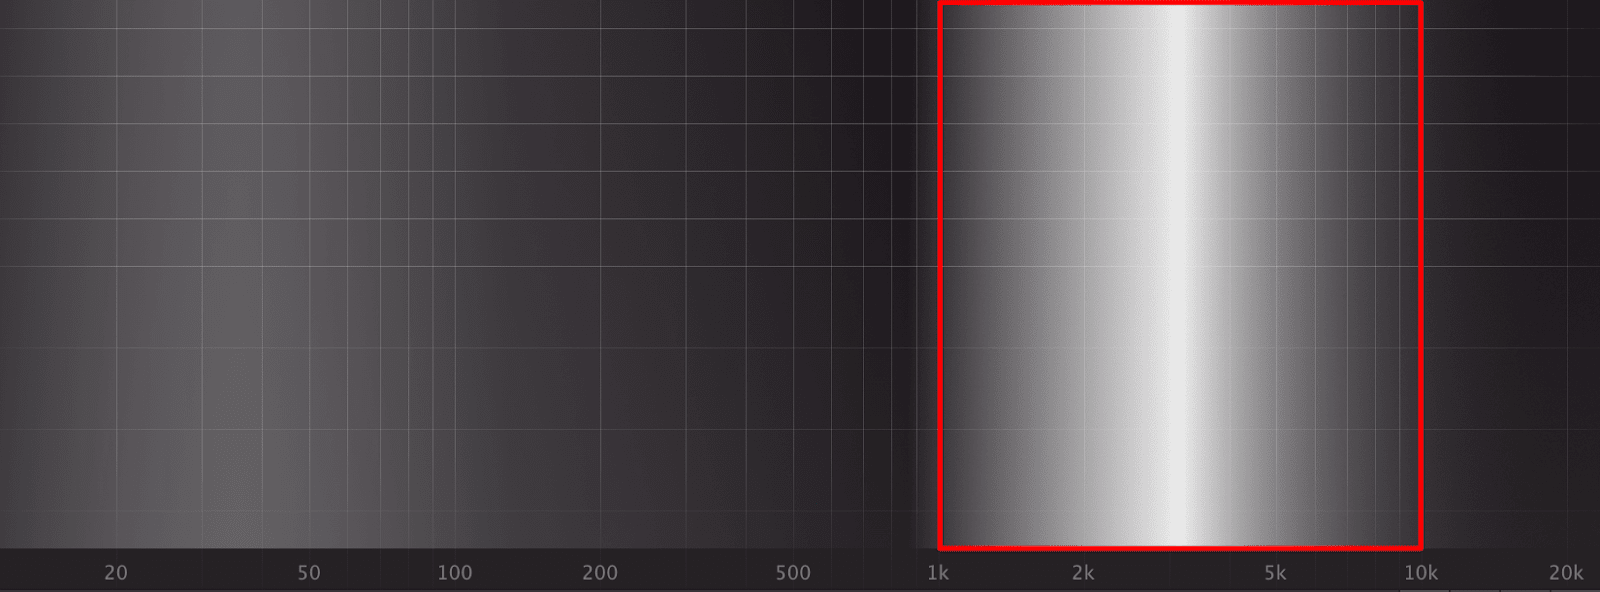
Usually, it means that your mix has too much energy in the upper-mids—typically from about 1 kHz to 8 or 10 kHz. This range is especially important in EDM, as it’s where the vocals, synths and cymbals live.
If a mix sounds harsh, the upper-midrange tends to overpower the other frequencies in the mix, causing it to sound unbalanced, and at times, even painful to listen to.
Additionally, harshness can cause your mix to sound weak and brittle. Too much upper-midrange means not enough energy in the lows and low-mids, which can make your mix feel empty and weak.
With EDM, it’s especially important for the kick and bass to sound big and hit hard.
Recommended: EQ: The Ultimate ‘How To’ Guide
What Causes Harshness?
OK, now that we’ve identified what harshness is, let’s talk about what causes it. Harshness can be caused by a variety of different factors, ranging from your equipment to your technique.
One of the most common causes of harshness is using cheap equipment.
That’s not to say that you need a $50,000 tube mic to record vocals, but microphones, preamps, and converters with cheap components almost always make mixes sound harsh.
This can be especially tricky to deal with, since every sound you record is colored by these devices, and in the case of converters, it even affects soft synths, samples, and other digital audio.
That’s why it’s so important to invest in a quality production rig as early as possible.
Professional converters are completely neutral and do not color your sound, making it easier to trust what you’re hearing. It’s also a good idea to invest in a solid vocal chain as well, including a quality microphone and preamp.
However, you’ll still need to follow best recording practices to prevent your tracks from sounding harsh.

Mixing Environment
Another common cause of harsh-sounding mixes is your mixing environment.
When mixing in an untreated room (like most of us working out of homes studios), it can be difficult to trust what you’re hearing come out of your monitors.
Obviously, you need a decent set of professional studio monitors with a neutral, balanced frequency range to ensure the sound isn’t being colored.
But even with a world-class monitoring system, mixing in an untreated room can still color your sound.
The best solution for this issue is to use proper speaker placement and tune your room with acoustic treatment. However, this can be a costly and time-consuming process.
Software like Sonarworks can help combat the drawbacks of mixing in an untreated room by tuning your speakers to accommodate for the sound of the room, as can mixing at low volumes to prevent the sound from reflecting off of your walls.

Poor Mixing Techniques
In addition to your equipment and your room, harshness can also be caused by improper mixing techniques.
As mentioned above, the upper-midrange is crucial to EDM, which is why it’s common advice to boost this range with an EQ to help your track cut through the mix.
However, too much boosting in the 1 – 10 kHz range can cause your track to sound harsh and brittle. To prevent this, be sure to use soft, gentle boosts with low Q values and moderate gain.
Another common cause of harshness is over-compression.
While compression is essential to dialing in a powerful, punchy EDM mix, too much compression can cause your mix to sound harsh and aggressive.
It’s best to use subtle ratios and small amounts of gain reduction to prevent unwanted harshness.
It’s also a good idea to use slow attack and fast release settings to enhance the sound of the attack. If you’re having trouble finding the right balance, try using two compressors (with gentle settings) in serial, or even parallel compression.
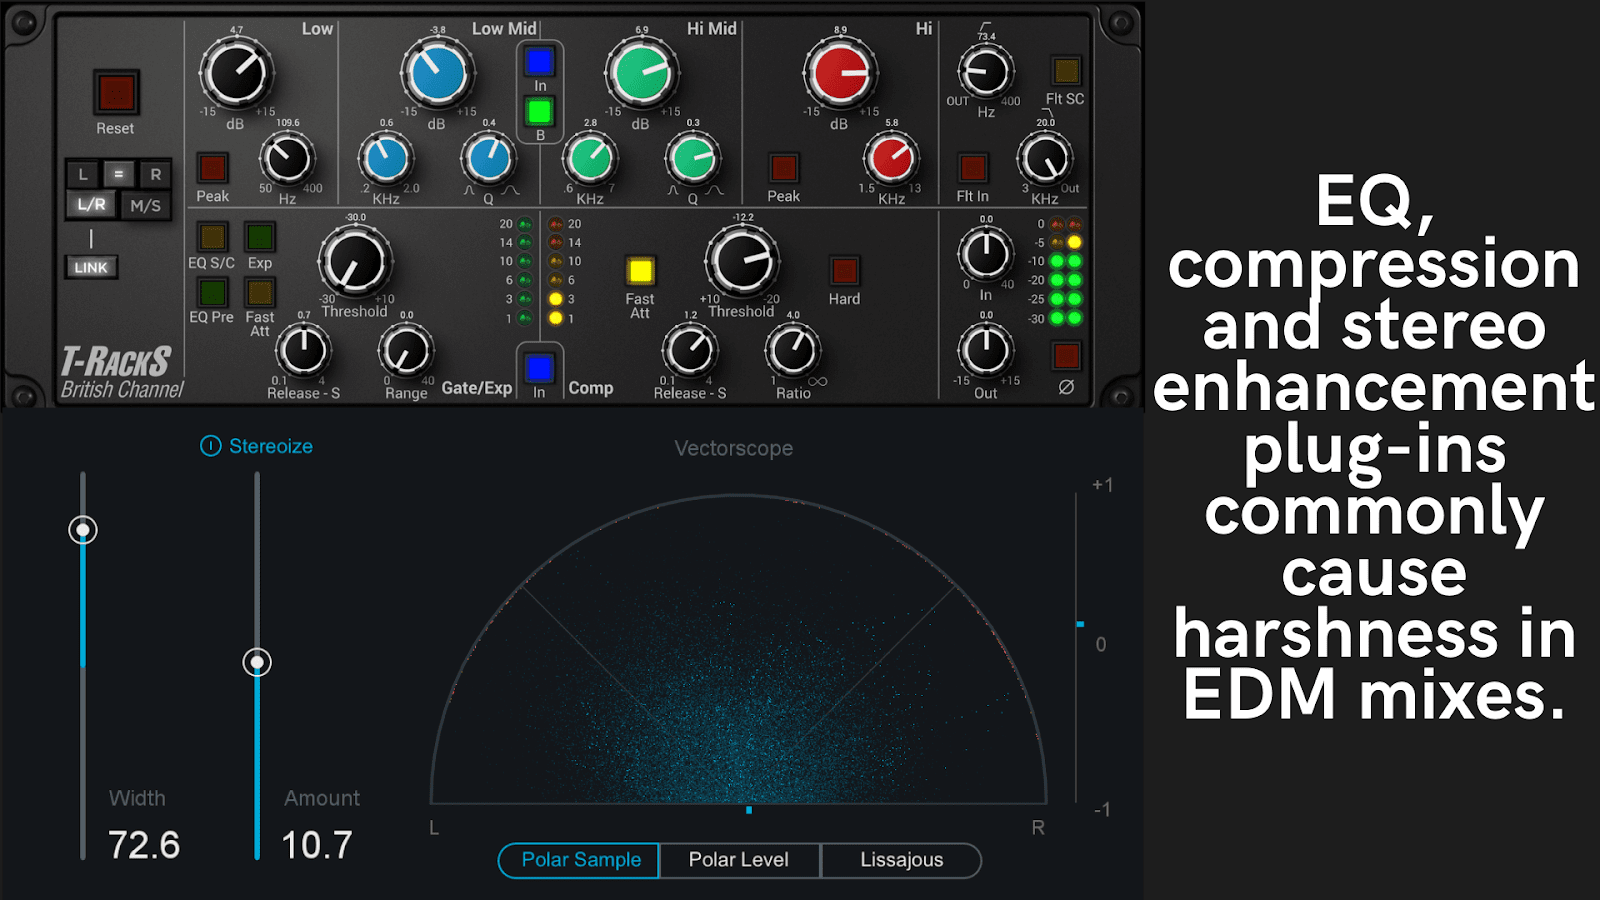
Another common cause for harshness is stereo enhancement plug-ins.
These tools use psychoacoustics to increase the perceived width of a track by pushing high frequencies to the sides of the mix. This effect also increases the perceived brightness of a track, which can cause it to sound harsh.
How To Fix Harshness
Now that you know how to identify harshness, let’s talk about how to fix it.
If you’ve ever looked for mixing advice in a forum, you’ve probably been told to “use your ears,” and while it’s good advice, it’s not very specific. How do you know if a mix sounds harsh or not? By comparing it to other mixes.
Referencing
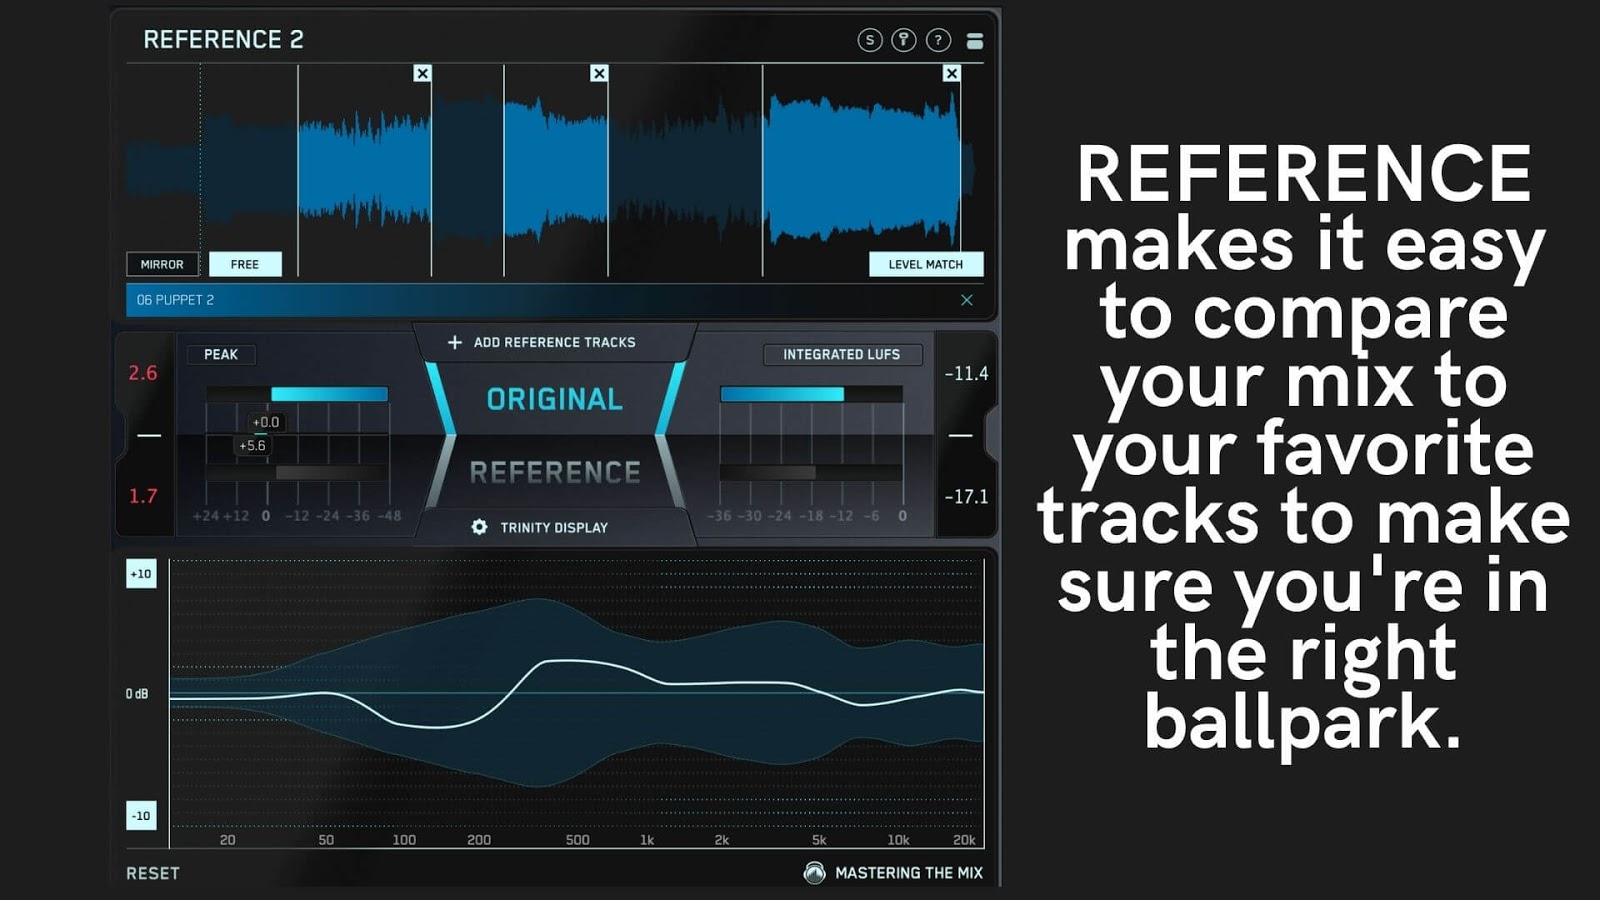
REFERENCE makes it easy to compare your mix to your favorite tracks to make sure you’re in the right ballpark.
Just insert REFERENCE on your mix bus, drag and drop a few popular EDM songs into the Wave Transport, and toggle back and forth between the mixes to see how your track stacks up. Listen closely to the upper-midrange and try to identify which elements are causing harshness in your mix.
Remember, a great mix starts with a solid foundation. That’s why it’s important to make sure all of the elements in your mix are properly balanced. The kick and bass should not overpower the other instruments in the track, and the vocal should always be heard loud and clear.
EQ
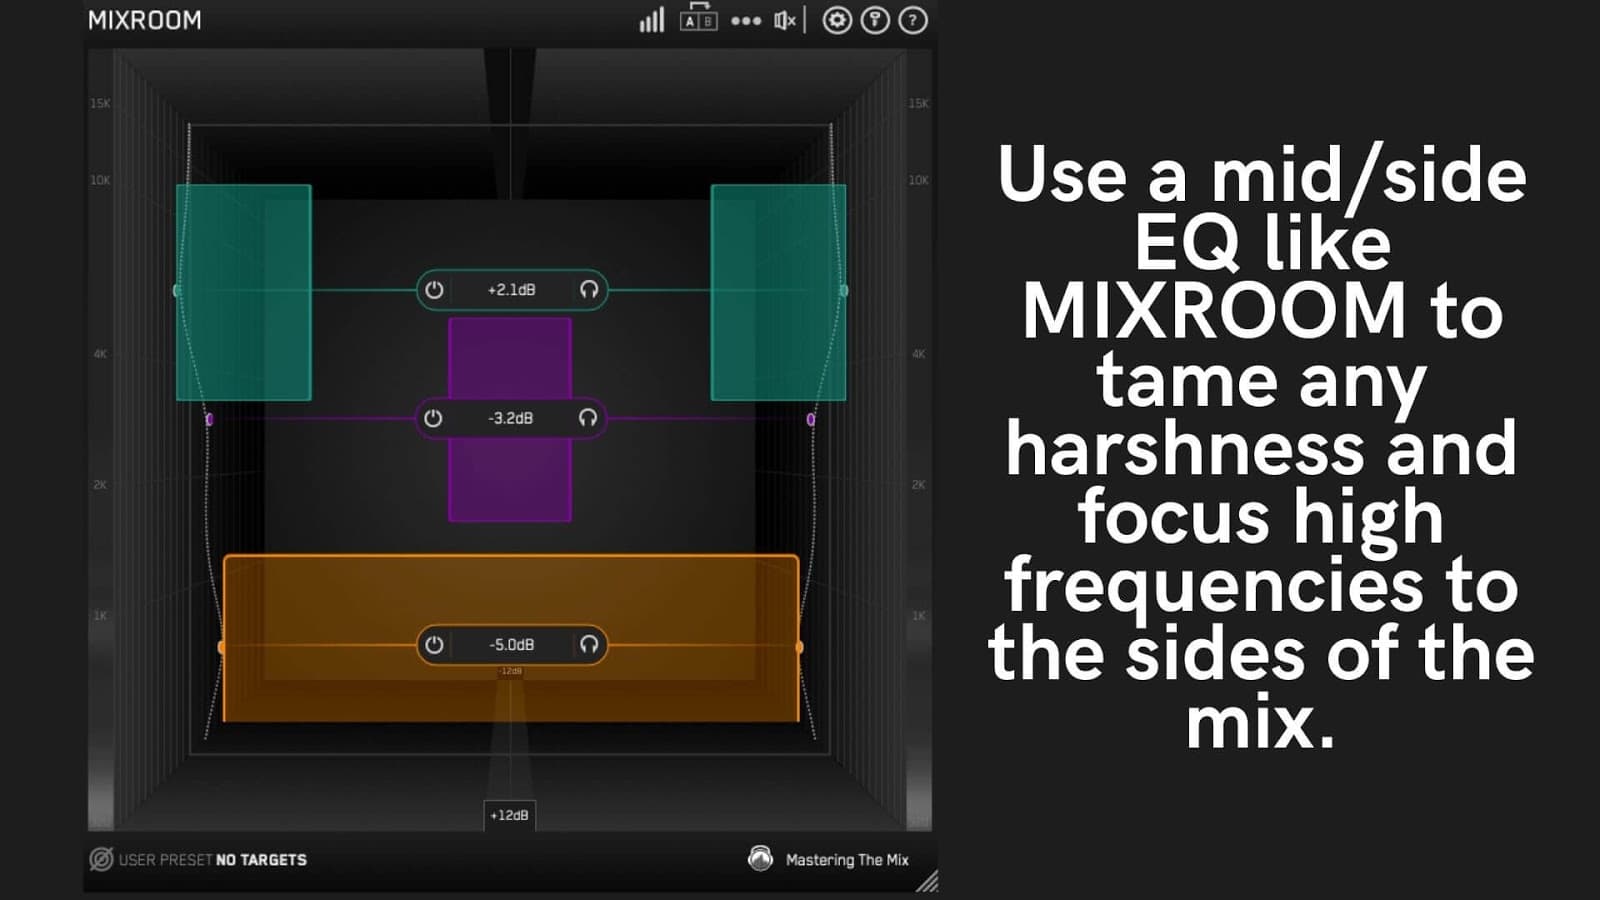
After locking in the foundation of the mix, break out your favorite EQ and start sculpting. Personally, I like to use MIXROOM because it allows me to fine-tune the shape and mid-side position of each band to pinpoint problem frequencies.
Start by identifying which frequencies are causing issues. If you’re having trouble, try using a frequency analyzer to get a clearer picture. Use the Q controls to create a soft, wide-band and make a moderate cut.
Be careful not to remove too much from this range, or your mix may start to sound dull and lifeless. For best results, turn on Linear Phase mode to preserve the power in the low-end of the track.
If you’re still having issues, try using mid/side mode to focus the high frequencies on the sides of the mix, which can help make room for critical elements in the center channel, such as the vocal.
De-esser
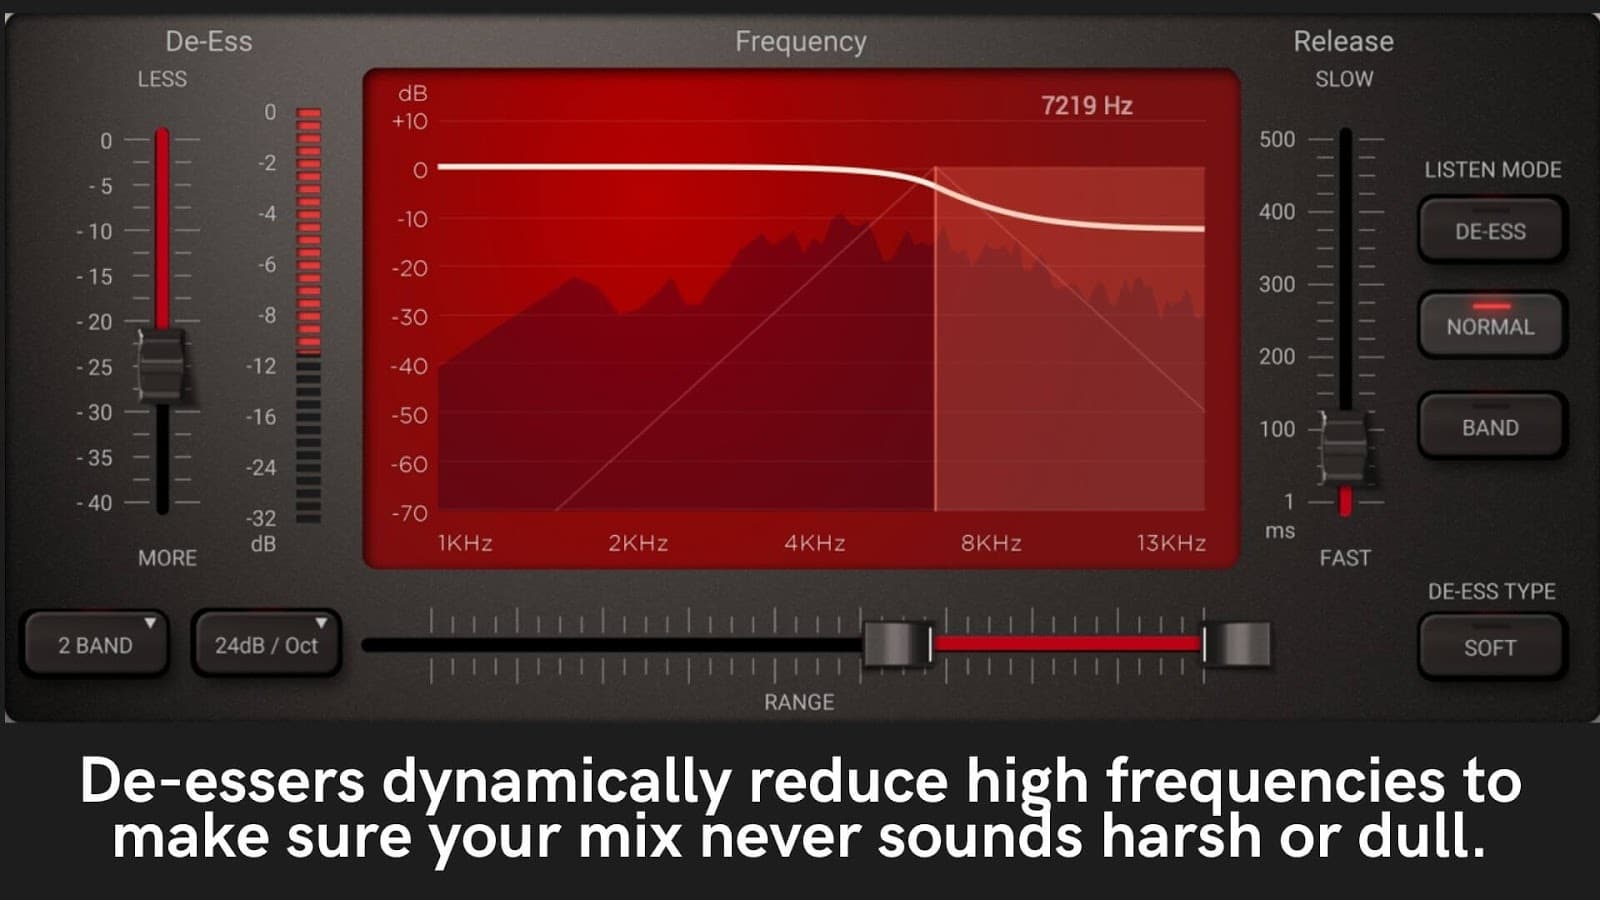
Another powerful tool for removing harshness from mixes is the de-esser.
Much like a compressor, a de-esser is a dynamic processor that targets and removes high frequencies when they cross the threshold.
This allows you to preserve the clarity of the high-end throughout the track and only reduces it when the sound becomes harsh, ensuring your mix never sounds dull. They can be especially great for taming string noise and suppressing harsh cymbals.
Start with the de-esser in split-band mode and listen carefully to the “input monitor,” “delta” or “audition” signal, which allows you to zero in on the specific frequencies the plug-in is removing.
Adjust the target frequency until you find the sound you want to eliminate, then adjust the threshold until the harshness is gone.
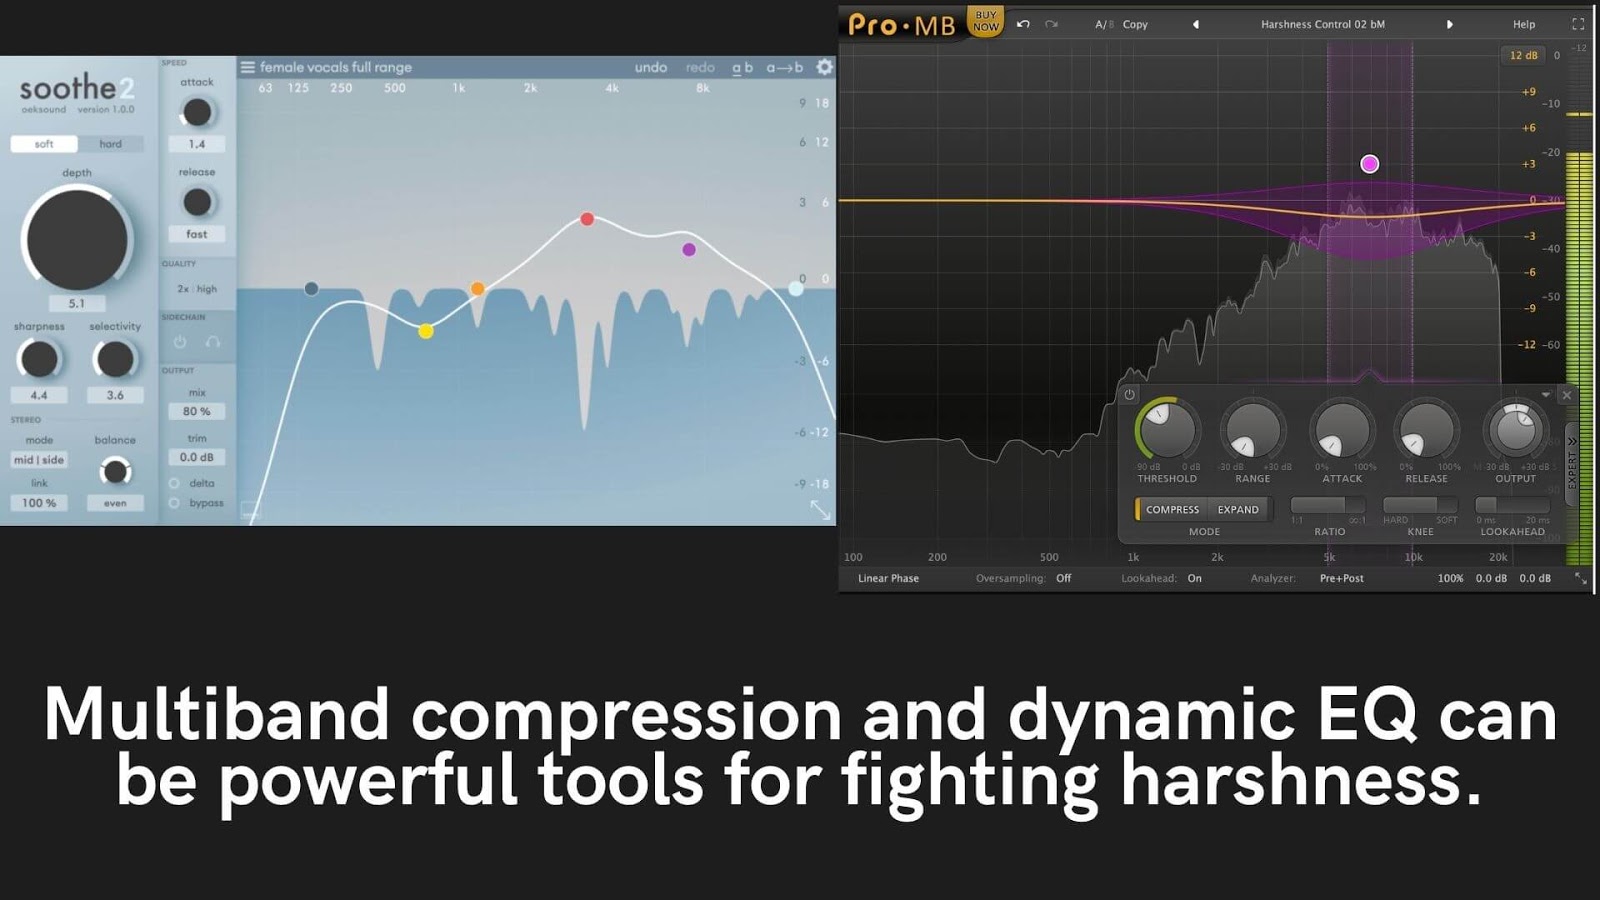
Some engineers prefer to use multi-band compressors like FabFilter Pro-MB, or dynamic EQs like Soothe 2 by Oeksound—both of which offer more flexibility than traditional de-essers. However, in most cases, you probably won’t need the additional bands.
If you do use a multi-band compressor or dynamic EQ to tame harshness in your mix, be sure to use a slow attack time so that the transients can pass through, and a fast release time so it recovers quickly.
Sidechain Compression
Another popular trick for suppressing harshness in a mix is to use side-chain compression.
This technique is especially popular with EDM tracks, and can be used to push high-frequency elements out of the way to make room for other tracks.
For instance, try side-chaining the lead vocal or synth to the synth pads to help clear space for the main melody:
- Start by routing all of your synth pads together into one stereo bus, then add your favorite compressor with a side-chain input.
- Next, create a send on the lead vocal or synth track and route it to the side-chain input on the compressor.
- Then, adjust the threshold so that the compressor only engages when the lead is playing. This will temporarily push the synth pads back in the mix, making room for the lead.
It may take some tweaking to get the attack, release and threshold settings right. The idea is for the synths to quickly duck out of the way when the lead is playing, so be sure to use fast attack and release settings.
However, if your settings are too fast, or the gain reduction is too aggressive, this can cause an unwanted pumping effect, so be sure to take it easy.
Recommended: Sidechain Compression: How To Create Tighter Mixes
Distortion & Saturation
Finally, if you’re still having trouble with your mix sounding harsh, try adding distortion. It may sound counterintuitive, but distortion and saturation create third-order harmonics that can help make a track sound more full and balanced.
I like to use IGNITE for this job, because the frequency filter allows me to specify the frequency range I want to saturate. Instead of slapping distortion across the whole track, I target the frequencies that I removed with EQ a few steps prior, which helps to fill out the sound.
Tape machine emulators can also work especially well for this, as they naturally soften the high-end of a track, which can help reduce harshness.
Just be careful—obviously, too much saturation can cause your mix to sound harsh and aggressive in a different way, so be sure to use a light touch and only saturate the tracks that need it.

Recommended: Breakthrough Sound Design
A Full & Balanced Mix
With so many high-frequency elements to contend with, like the vocals, synths, and cymbals, EDM can be a tricky genre to mix—especially when you’re working with less-than-ideal equipment.
But with these techniques, you should be able to dial in a balanced, professional-sounding EDM mix with a crystal-clear top-end. Bookmark this page and try out these techniques next time you’ve got a mastering session!
And remember to grab the free EQ cheat sheet below:
